
How to increase Facebook privacy: 9 ways to boost your privacy on Facebook
Facebook isn’t that private, unless you take the steps to make it that way. If you’re not careful, you’ll be sharing your posts with people you’ve never met, online or offline

Think only your friends and family members can view that Facebook post of you at the beach during your last vacation? Or maybe you think your boss will never see the comments you made about a candidate running for office in your community
The truth is, Facebook isn’t that private, unless you take the steps to make it that way. If you’re not careful, you’ll be sharing your posts with people you’ve never met, online or offline.
Here's some help in how to make Facebook more private. You can boost your privacy on Facebook with some simple steps:
1. Don’t overshare
First, be careful about what you post on Facebook, or any other social media site. Remember, more people might see your post than you expect. For that reason, don’t divulge too many personal details.
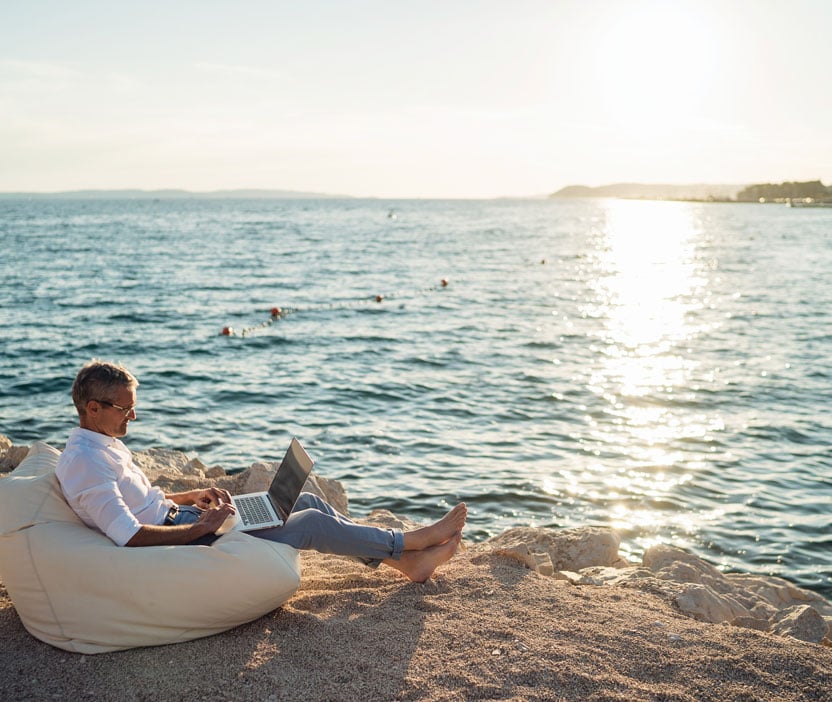
For instance, what if you’re on vacation? It’s OK to share those photos of you skiing or surfing. Just wait until you get home, otherwise criminals scanning your Facebook account might determine that you’re not at home, making your house a prime target for theft.
In the end your best move is to never post anything that gives away our age, full name, address, or employer as cybercriminals can use most of it in one way or another.
2. Use a strong password
Next, make sure that the password you use to log onto Facebook is a strong one. Facebook itself recommends that your password be at least six characters and contain at least one symbol and a mix of uppercase and lowercase letters.
You can get more complicated, though. Remember, the longer and more complex your password is, the less likely it is for a hacker to crack it. And you don’t want a hacker gaining access to your Facebook account. These criminals might sell your personal details on the dark web. Or they might take over your account to try to scam other victims into giving them cash or gift cards.
Another tip? Never reuse passwords. For example, don’t use the same password you use to log onto Twitter for your Facebook account.
3. Control who can see your posts
Next, it’s time to boost your actual privacy settings with Facebook. Start with limiting who can see your posts.
To do this, you'll have to first access your Facebook Settings page. Do this by clicking on the small triangle icon on the top right of your Facebook page. Select "Settings & Privacy." Once you do this, you can choose from a list of items to tweak.
Select "Settings," which will take you to your General Account Settings page. From the list of options on the left-hand side of this screen, click “Privacy.” This will give you several options for who can see your Facebook posts. If you select "Public," everyone, even those without their own Facebook accounts, will be able to see your posts. If you select "Friends," only your Facebook friends can see your posts.
To make your profile even more private, you can select "Friends Except ..." to block your posts from certain people in your Facebook friends list. The "Only Me" option means that you are the only one who can view your Facebook posts, while the "Specific Friends" option allows you choose certain people from your friends list to view your posts.
You can also pick "Custom," which allows you to include and exclude groups and individuals from reading your posts.
Our suggestion? Never choose the "Public" option here. It's best to limit your posting history to friends and family members.
4. Tweak the “About” section of your Facebook profile
You can provide certain information about yourself in the "About" section of your Facebook profile, everything from your where you work, went to college and live today to your address, mobile phone and relationship status.
If you want to boost your privacy, revising your "About" page is a good choice. This page is automatically set to public, meaning everyone can read it by default. To change this, click the profile picture in the top right of your Facebook page. Click "About" in the options that then pop up.
Once here, you can edit the information you share with others, adding or deleting it. We recommend only including the most basic information in your "About" page. To boost your privacy, don't share details such as where you went to college, what city you live in, your mobile numbers, or your current age.
You can also change who sees your Facebook profile information. To do this, click the "About" section to the left of your Facebook timeline. Then select the categories that you'd like to change. This can include categories such as Work, Places You've Lived, Contact Information, and Family and Relationship info.
You can set the audience for each of these categories by clicking on the gray privacy icon on the right of them. You can limit who can view this information by choosing from “Public,” “Friends,” “Only Me,” and “Close Friends.” That last option — “Close Friends” — is made up of your custom list of closer contacts.
To increase your privacy, never select “Public” when determining who can see your About page.
5. Silence those games and apps
Don't want your latest score on your favorite video game shared with your Facebook friends? You can change your privacy settings to prevent games and apps from sharing information on Facebook.
First, select "Apps and Websites" from the list on the left of your "General Account Settings" screen. You can then delete any games you are no longer playing by checking the white box at the far right of the listing and clicking "Remove."
You can also edit who can see you that you use a particular app or game that you are still using. To do this, click the triangle icon on the top right of your Facebook home page. Choose "Settings & Privacy" and then click "Settings." Click "Apps and Websites" in the left menu.
To tweak who can see your app or game activity, go to a specific app and click "View and Edit." Next to the "Logged in with Facebook" option, you can select who can see your app activity, choosing "Public," "Friends," "Only Me," or "Custom." For maximum privacy, choose "Only Me."
6. Cut down on those friend requests
Ever get a Facebook friend request from someone you don't know? You're not alone. Fortunately, you can eliminate such requests by editing your Facebook privacy settings.
First, select "Privacy" from the list on the left of your "General Account Settings" screen. If you hover over the "Who Can Send You Friend Requests?" option, an "Edit" choice should appear. Click on that. From the resulting dropdown menu, you can choose whether to receive friend requests from everyone or limit these requests to friends of your existing Facebook friends.
The best choice for privacy? Only accept requests from the friends connected to your own list of Facebook friends. This will cut down on requests from strangers.
7. Hide posts in your timeline
Don't want people to see that post you made three years ago? You can remove it from your Facebook timeline so that others won't be able to see it.
First, click on the three-dot icon on the top-right corner of your post. This will bring up a menu. Click on the "Hide from timeline" option. Now, this post will no longer show up on your timeline.
8. Turn off Location Services
On both Android and iOS mobile devices, Location Services gives Facebook the ability to provide users with live information based on your location. You can use this service to remotely make reservations at a nearby restaurant, find a specific type of shop near you, or search for nearby public Wi-Fi. Location Services also gives Facebook the power to send you targeted ads based on where you are and what's near you.
The big privacy problem with this service? When it's on, it means that Facebook knows where you are. If you're not comfortable with that, you can always turn Location Services off. First, find the "Privacy" settings on your mobile device. Once you click on that, look for the "Location Services" option. You can choose to enable this service "Always," "While Using the Facebook App" or "Never."
For the highest level of privacy, choose the "Never" option.
9. Turn off Location History
Location History is another service that many Facebook users might consider intrusive. When it's on, Facebook creates a list of the exact locations you've been to while using your mobile device. The social media giant logs this information even when you're not using Facebook.
Think this is too much information to give Facebook? You can turn off Location History from your "General Account Settings" screen. Once you get to that screen, select "Location" from the list on the left side. From the dropdown menu, you can turn your mobile device's Location History off.
Again, to boost your privacy and to help prevent Facebook from tracking your daily activities, select this option.
Editorial note: Our articles provide educational information for you. Our offerings may not cover or protect against every type of crime, fraud, or threat we write about. Our goal is to increase awareness about Cyber Safety. Please review complete Terms during enrollment or setup. Remember that no one can prevent all identity theft or cybercrime, and that LifeLock does not monitor all transactions at all businesses. The Norton and LifeLock brands are part of Gen Digital Inc.


Want more?
Follow us for all the latest news, tips, and updates.